First thing is loosen the 6 bolts holding down the breather cover (mine was already off for cleaning).
Next, remove tappet hole caps, 12 screws, and 6 bolts holding down the cylinder head cover.
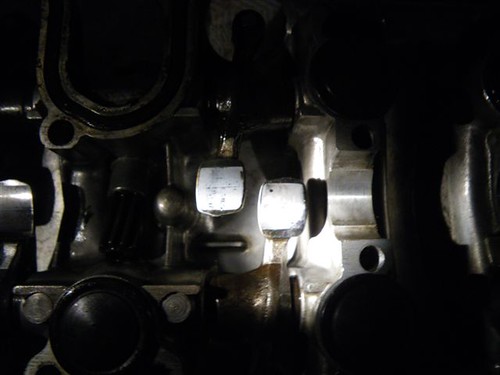
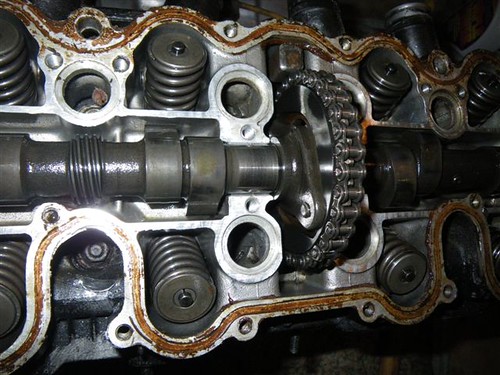
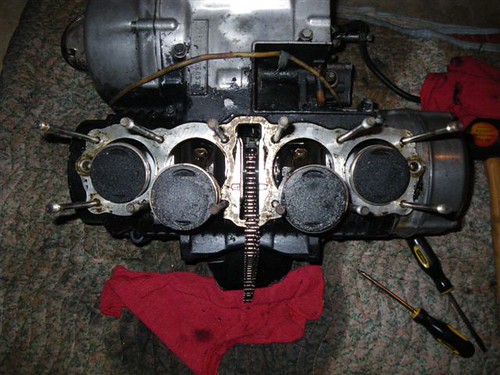
View of the cylinder head block with the cylinder head cover off:

That cylinder head cover contains the rockers. There is an intake and exhaust rocker. These are the pieces that the camshaft moves and the opposite side is the tappets that govern how much movement play there is for these rockers. I will be doing a thorough examination of the rocker arms, but initially I'm seeing wear that I would expect.
Hopefully my friends over on the SOHC4 forums will let me know if they see anything unusual.
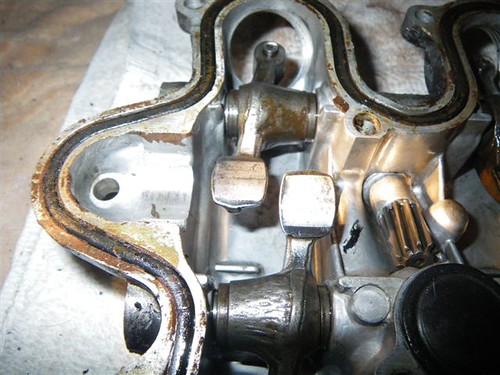
Rocker arms for cylinder 1:

Rocker arms for cylinder 2:

Rocker arms for cylinder 3:
Rocker arms for cylinder 4:
Next, there's a good bit of wrangling to get at the cylinder block. First, loosen the camchain tensioner lock nut and turn the camchain tensioner screw clockwise. There's a bit of resistance there, so push clockwise and you'll feel a bit of give. It helps if you have the cylinder head cover off so you can feel the cam chain getting loose as you turn with your opposite hand. On my engine, there was about 45 degrees of turn before it was as loose as can go.
The previous owner (PO) must have done some significant hacking on the camchain tensioner screw - it's not in great shape.
camchain tensioner screw:

After you've taken tension off the cam chain, tighten down the locknut to keep the tension off, then remove the two cam sprocket mounting bolts.
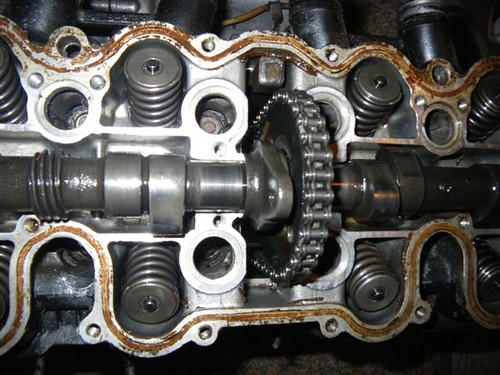
cam sprocket mounting bolts (side of cylinders 1 & 2):
cam sprocket mounting bolts (side of cyliinders 3 & 4):
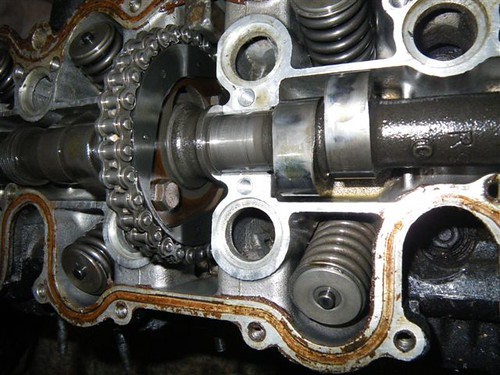
Next is where it gets interesting. After you remove those bolts (bag and label them for reassembly), you basically just separate the sprocket from the camshaft. It just sits on there a little off kilter. Then you pull the chain from the sprocket. Then you pull the sprocket of the camshaft. Finally, keeping a grip on the cam chain, you pull the camshaft out from the chain. Be careful not to drop the chain since it's a bit of a pain to get it back out.
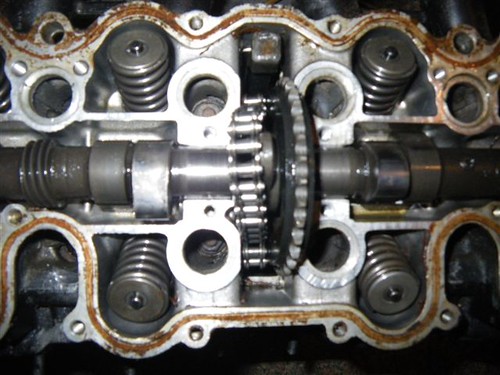
Bolts out and sprocket separated:
Cam chain off the sprocket:
Now that the camshaft and sprocket are removed, you can use a screwdriver to loop through the cam chain to keep it from falling into the engine while you perform the next steps.
First, loosen the cam tensioner mounting bolt. I took it out entirely. Again bag and label. Next, unscrew the 12 cylinder head mounting nuts and the two flange bolts. There is a specific order to this since the nuts are torqued. It basically goes in x's starting at the inside - top left (center), bottom right (center), Bottom left (center), top right (center), then the next group. Loosen the two flange bolts last. Make sure that you keep track of which of those flange bolts goes where - I market my bag with instructions.
Now that you have everything all loosened, you'll need to carefully pry up the cylinder head block and remove it in order to remove the cam chain guide and cam chain tensioner.
Cylinder head block off:
Now that you have the cylinder head block off, it's pretty easy to pull the cam chain guide. Just pull up and turn 90 degrees.
In order to get the cam chain tensioner out, you need to carefully pry up the cylinder block and then squeeze the spring a bit. It should wiggle out without much fuss now.
Finally, pull the cylinder block off. It should be loose enough now that you're broken the seal. Just carefully pull it off level - again, don't lose that cam chain.
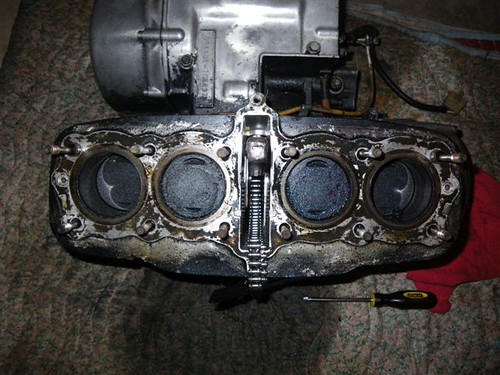
View of the bottom end with the cylinder block off (pistons still atached):
I'll pull the pistons off tomorrow. There are essentially some circular piston clips in the bearings on the side that require a pretty small set of needle-nose pliers. Mine weren't small enough so I'll need to pick some up tomorrow.
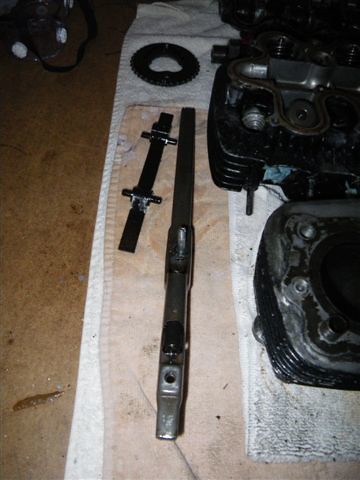
Here are some assorted pictures of parts.
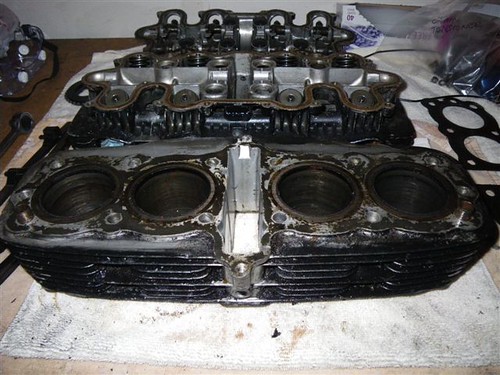
Disassembled top end except for pistons:
Head gasket:

Cam tensioner, Cam chain guide, cam sprocket: